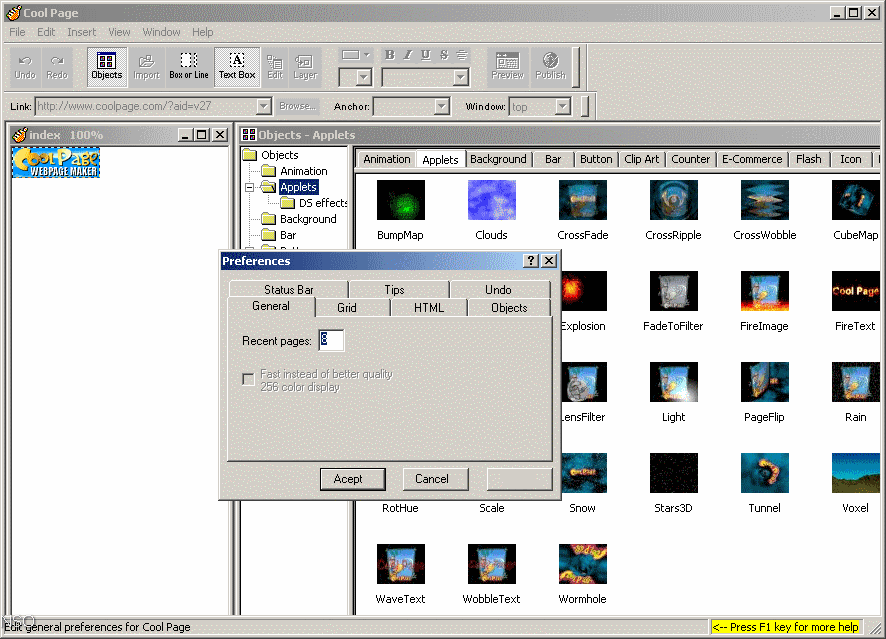
In this tutorial, I will show you how to insert and manage your images in Cool Page. You can insert images through the objects panel and you can import them. I will show you both ways of inserting the images.
How to Import Images in Cool Page
Go to the top of your Cool Page program and click File gt; Import. When the box opens, locate the image you want to open. Click the image and click the Open button. The image will open on your page. You can move the image around by dragging it with your mouse.
How to Insert Images from the Objects Panel in Cool Page
Now I will show you how to insert images using the Objects Panel located on the right side of your program. In the Objects panel, you will see the Clipart tab and the Photo tab. Clicking these tabs will open your images. To insert one of the images, click the image, and drag it to the panel on the left side of your window. Let it go when you have it where you want it.
How to Delete Images in Cool Page
If you have added an image and you want to delete it. Simply click the image to select it and then press the Delete key on your keyboard.
How to Resize an Image in Cool Page
You can quickly resize an image by grabbing the corner of the box around the image and dragging it inward or outward. You can also drag the sides.
How to Add Alternate Text to the Image in Cool Page
To add alternate text to your image, click your image and a box will open. Click the Image tab in the box and type your alternate text in the alternate field. Then click OK to close the box.
How to Type Text on an Image in Cool Page
You can type text on an image, but it is a little tricky to do. You will first need to select your text tool from the top of your program. Then you will need to start from the right side of the image and draw a box over the image. When you start on the right side, don’t start on the image, start a bit off of the image. Once your box is drawn, start typing your text. You can then go back, highlight your text and change the appearance of the text. You can move the text around by dragging the text box. You can also move the image around behind the text by dragging the image box.


COMMENTS