Importing a large MKV file into Final Cut Pro X is a common topic for consumers and professionals who create and edit video project. Today in this post, I want to share you with the best way to import video from MKV and AVI file into Final Cut Pro X without transcoding and losing quality.
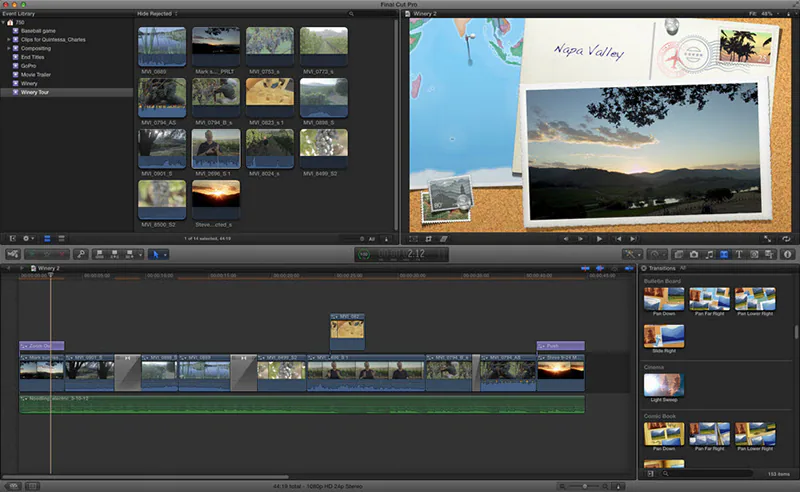
As a professional-level movie editing application created by Apple for the Mac, Final Cut Pro X is used by a wide variety of persons, including industry professionals and studios. You can import and work with a variety of video, audio, and image formats, such as MP4, MOV, AVI, MXF, MTS/M2TS, and more. However, when you’re loading some large HD .mkv files, there will be more or less problematic. Especially for some pro users who frequently deal with MKV files, how to open MKV in FCPX is a problem.
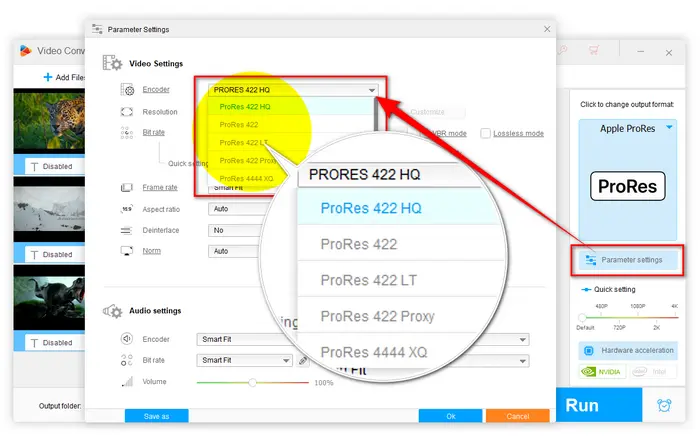
Transcode MKV to Apple ProRes 422LT

MKV (Matroska Video File) is a video container like all the others. And it needs to be converted to some compatible formats like Apple ProRes to import MKV into FCPX. MPEG Streamclip is often been suggested to transcode MKV to ProRes codec for importing into FCPX. Let’s see the process of transcoding MKV to Apple ProRes codes for FCPX.
-
- Go to http://www.squared5.com and download MPEG Streamclip for Mac or Windows.
- Install and run MPEG Streamclip video converter by dragging the application from the DMG to the Application folder.
- Here you need to install the Perian plugin that is helpful in adding a bounch of codes that become QT compatible.
-
- To successful load MKV file, you will have to install the Perian plugin that is helpful in adding a bounch of codes that become QT compatible.
- After loading the MKV file into MPEG Streamclip, from the File menu, choose Export to QuickTime, then set the codec to ProRes 422, audio code 48kHZ, and the quality to 100%.
- At last, click Make Movie, you’ll convert MKV to Apple ProRes .mov file so that it is editable in Final Cut Pro (X) application.
NOTE:
As MPEGStreamClip has not been updated for 6 years, both the Mac version and the Windows version use ‘classic’ QuickTime. Quicktime Classic was discontinued for Windows in 2016, rumours are that it will be discontinued for Mac this year when the next version of macOS is released.
So, you would then only be able to run MPEGStreamclip via an older version of macOS.
That’s the reason that I introduce the next solution. Make MKV editable by another professional converter software – Wondershare UniConverter
Wondershare UniConverter
Used to be the ultimate video converter developed by Wondershare, UniConverter deals with over 1000 media formats at 30x faster converting speed. The more attactive feature is that it can reduce video size without quality loss, like converting MKV to smaller MP4, compressing AVI to MP4, etc.
Convert MKV to MP4 Final Cut Pro X, without Losing Quality
Here’s how to quickly convert MKV to Final Cut Pro on Mac. By converting MKV to FCP-supported MP4 or MOV format, you can open your Matroska project into Final Cut Pro X and create content for movies and TV.
Step 1. Load MKV file into UniConverter
You can directly drag and drop your .mkv files into UniConverter, or click Add Files from the left corner of the software. Batch conversion allows you import multiple files.
Step 2. Set MP4 format that is compatible with FCPX
Once the files are added to UniConverter, click on Convert all files to option on the top right corner. Choose MP4 from the media formats list. Then you can define the resolution of the file.
Step 3. Reduce MKV size (Optional)
To reduce MKV file size, click on the compress icon under the target video info bar and a new setting window will open. Now you can change the video size as you like and preview the output video to check its quality. Click the OK button to save changes if you feel OK. You can skip this step if you don’t need to compress your video.
Step 4. Convert MKV to MP4 without losing quality
Finally, click the Convert button to start converting MKV to MP4 Final Cut Pro X. Just wait for a while, you’ll get the converted MP4 or MOV files that you can import into Final Cut Pro X for professional video editing.


COMMENTS